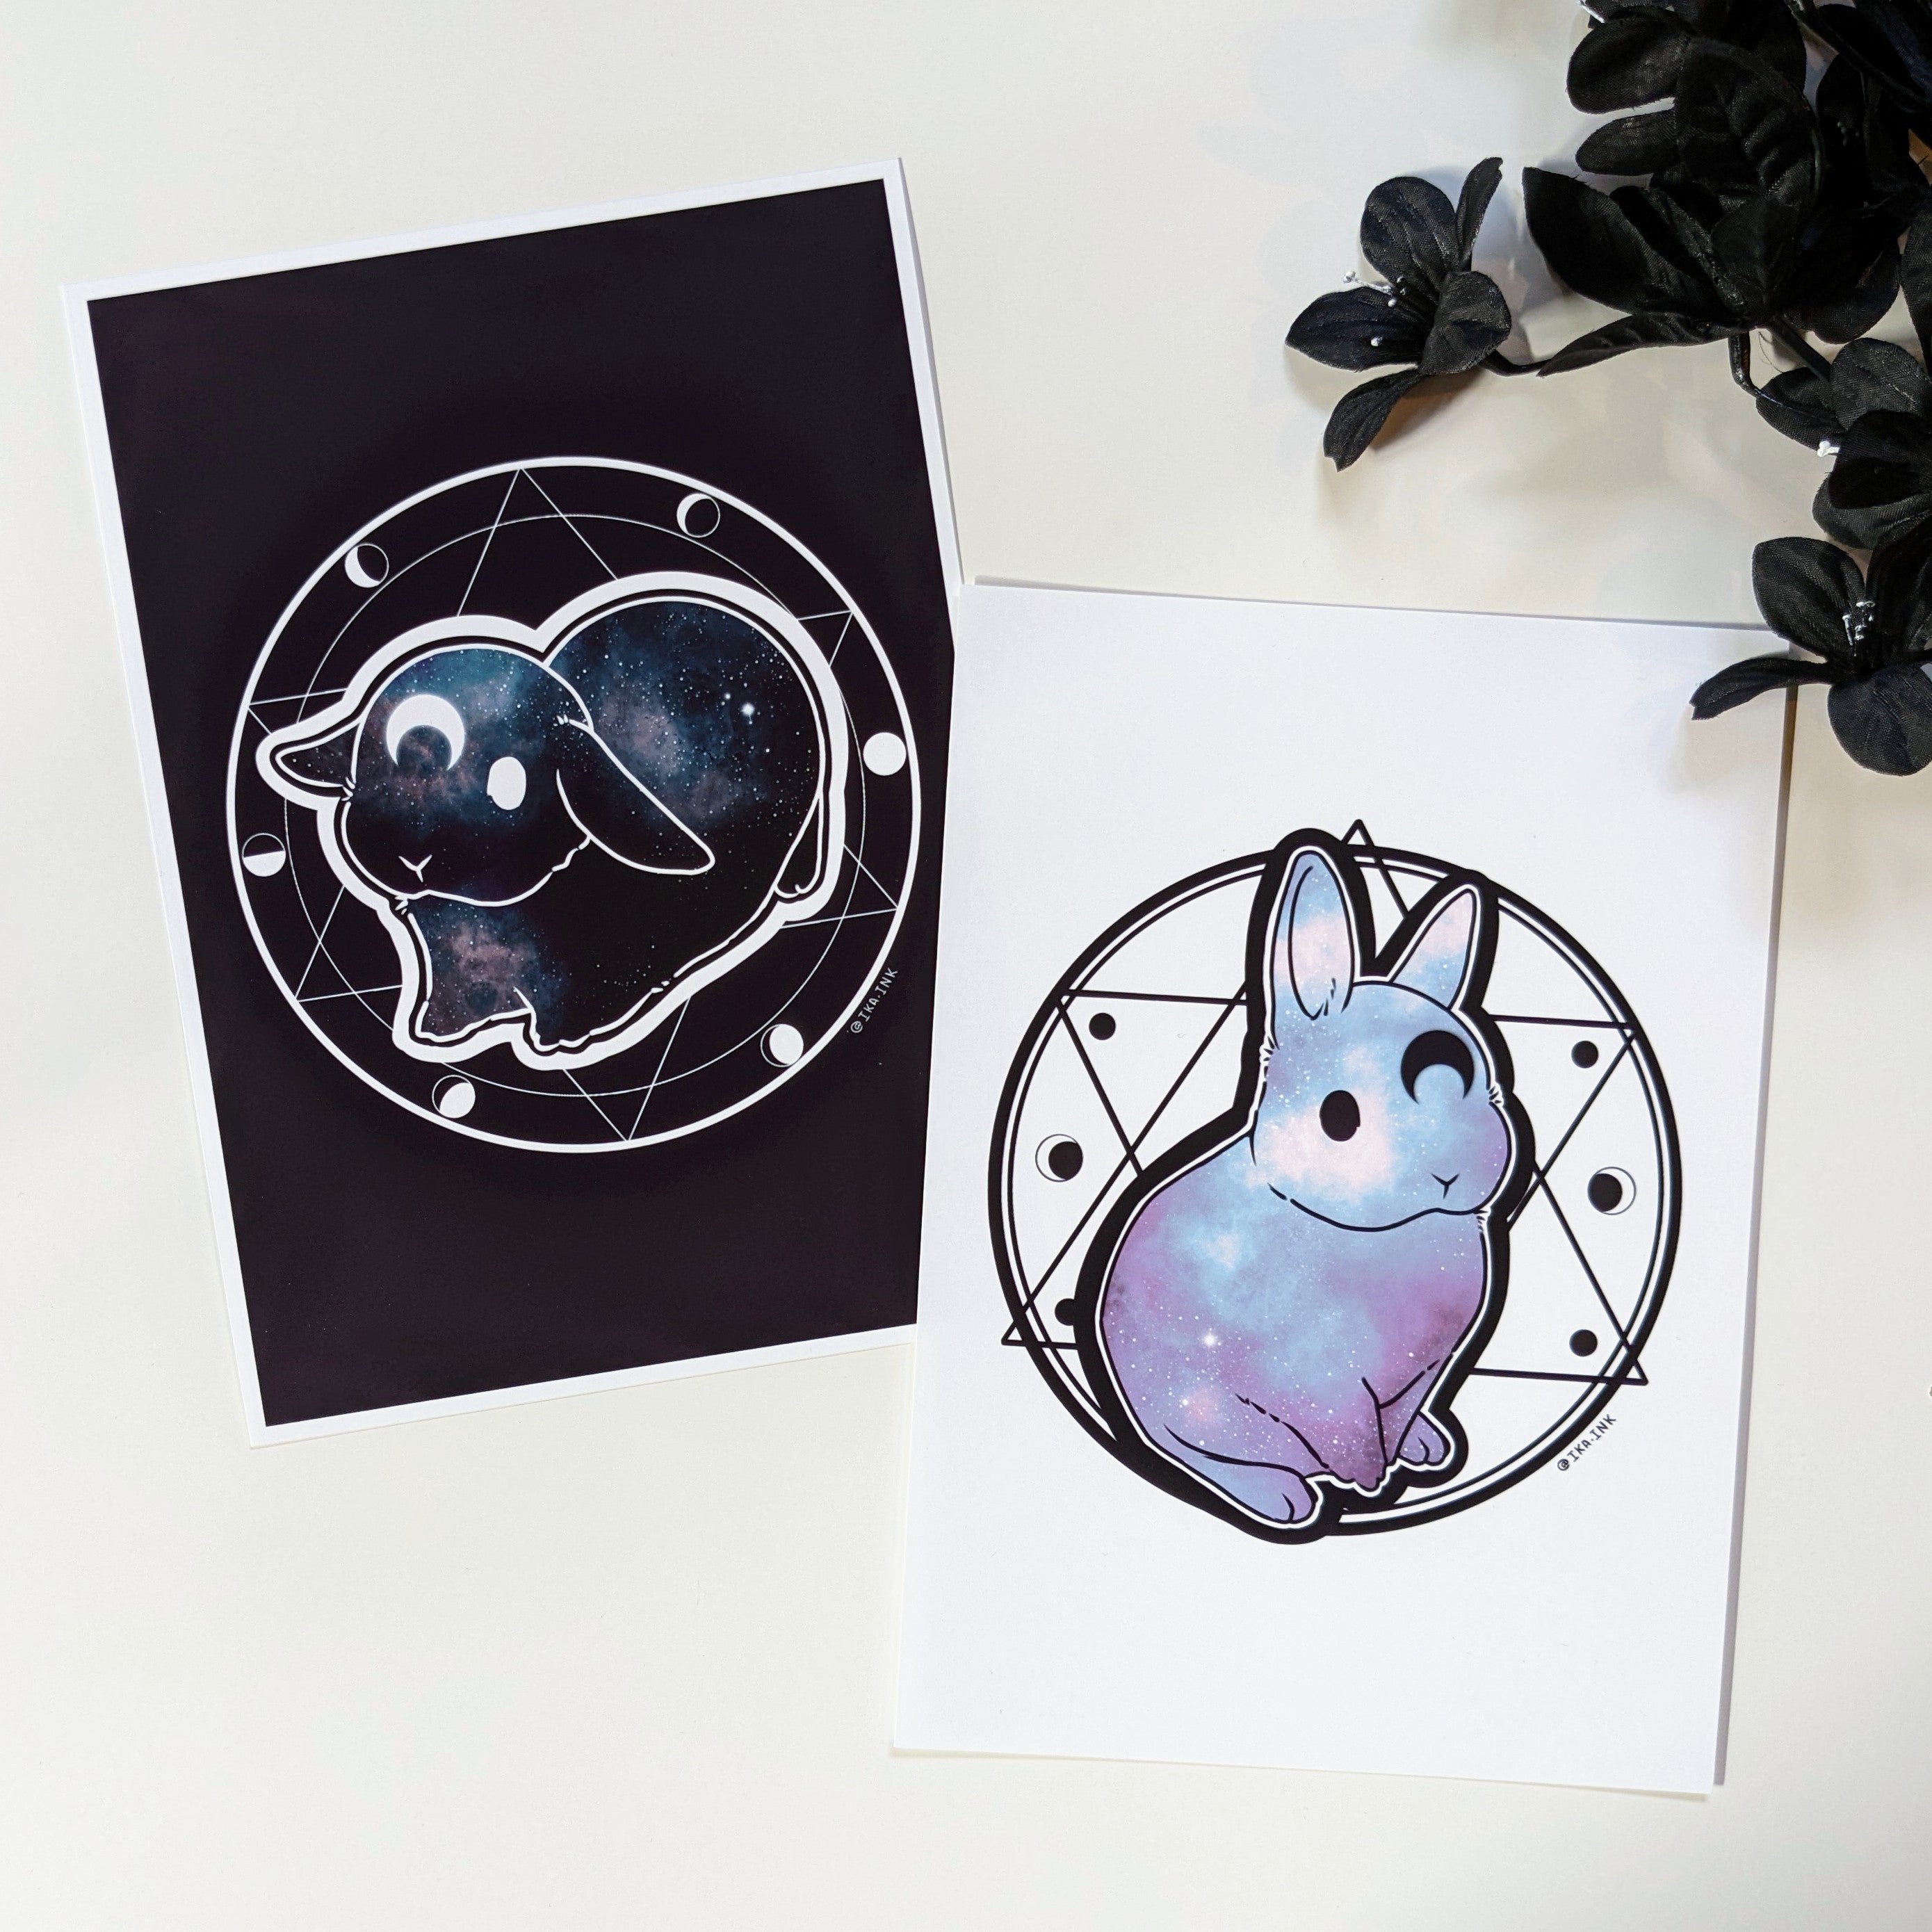
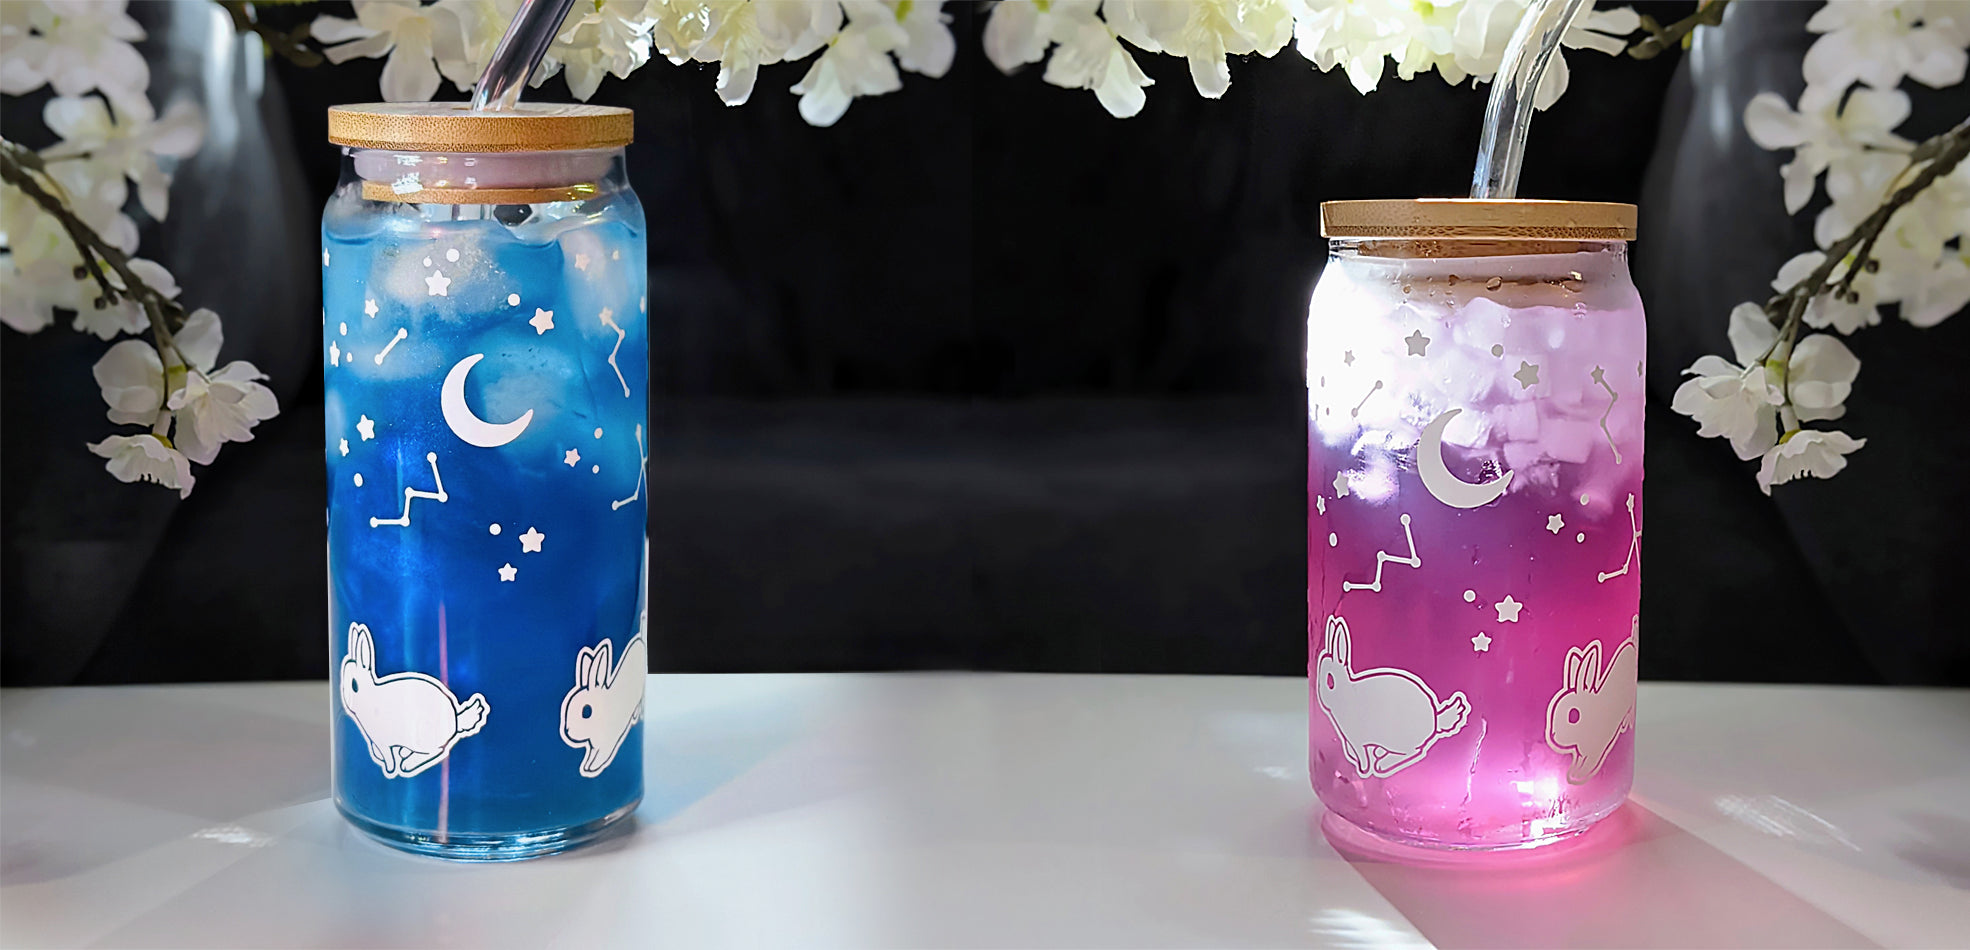
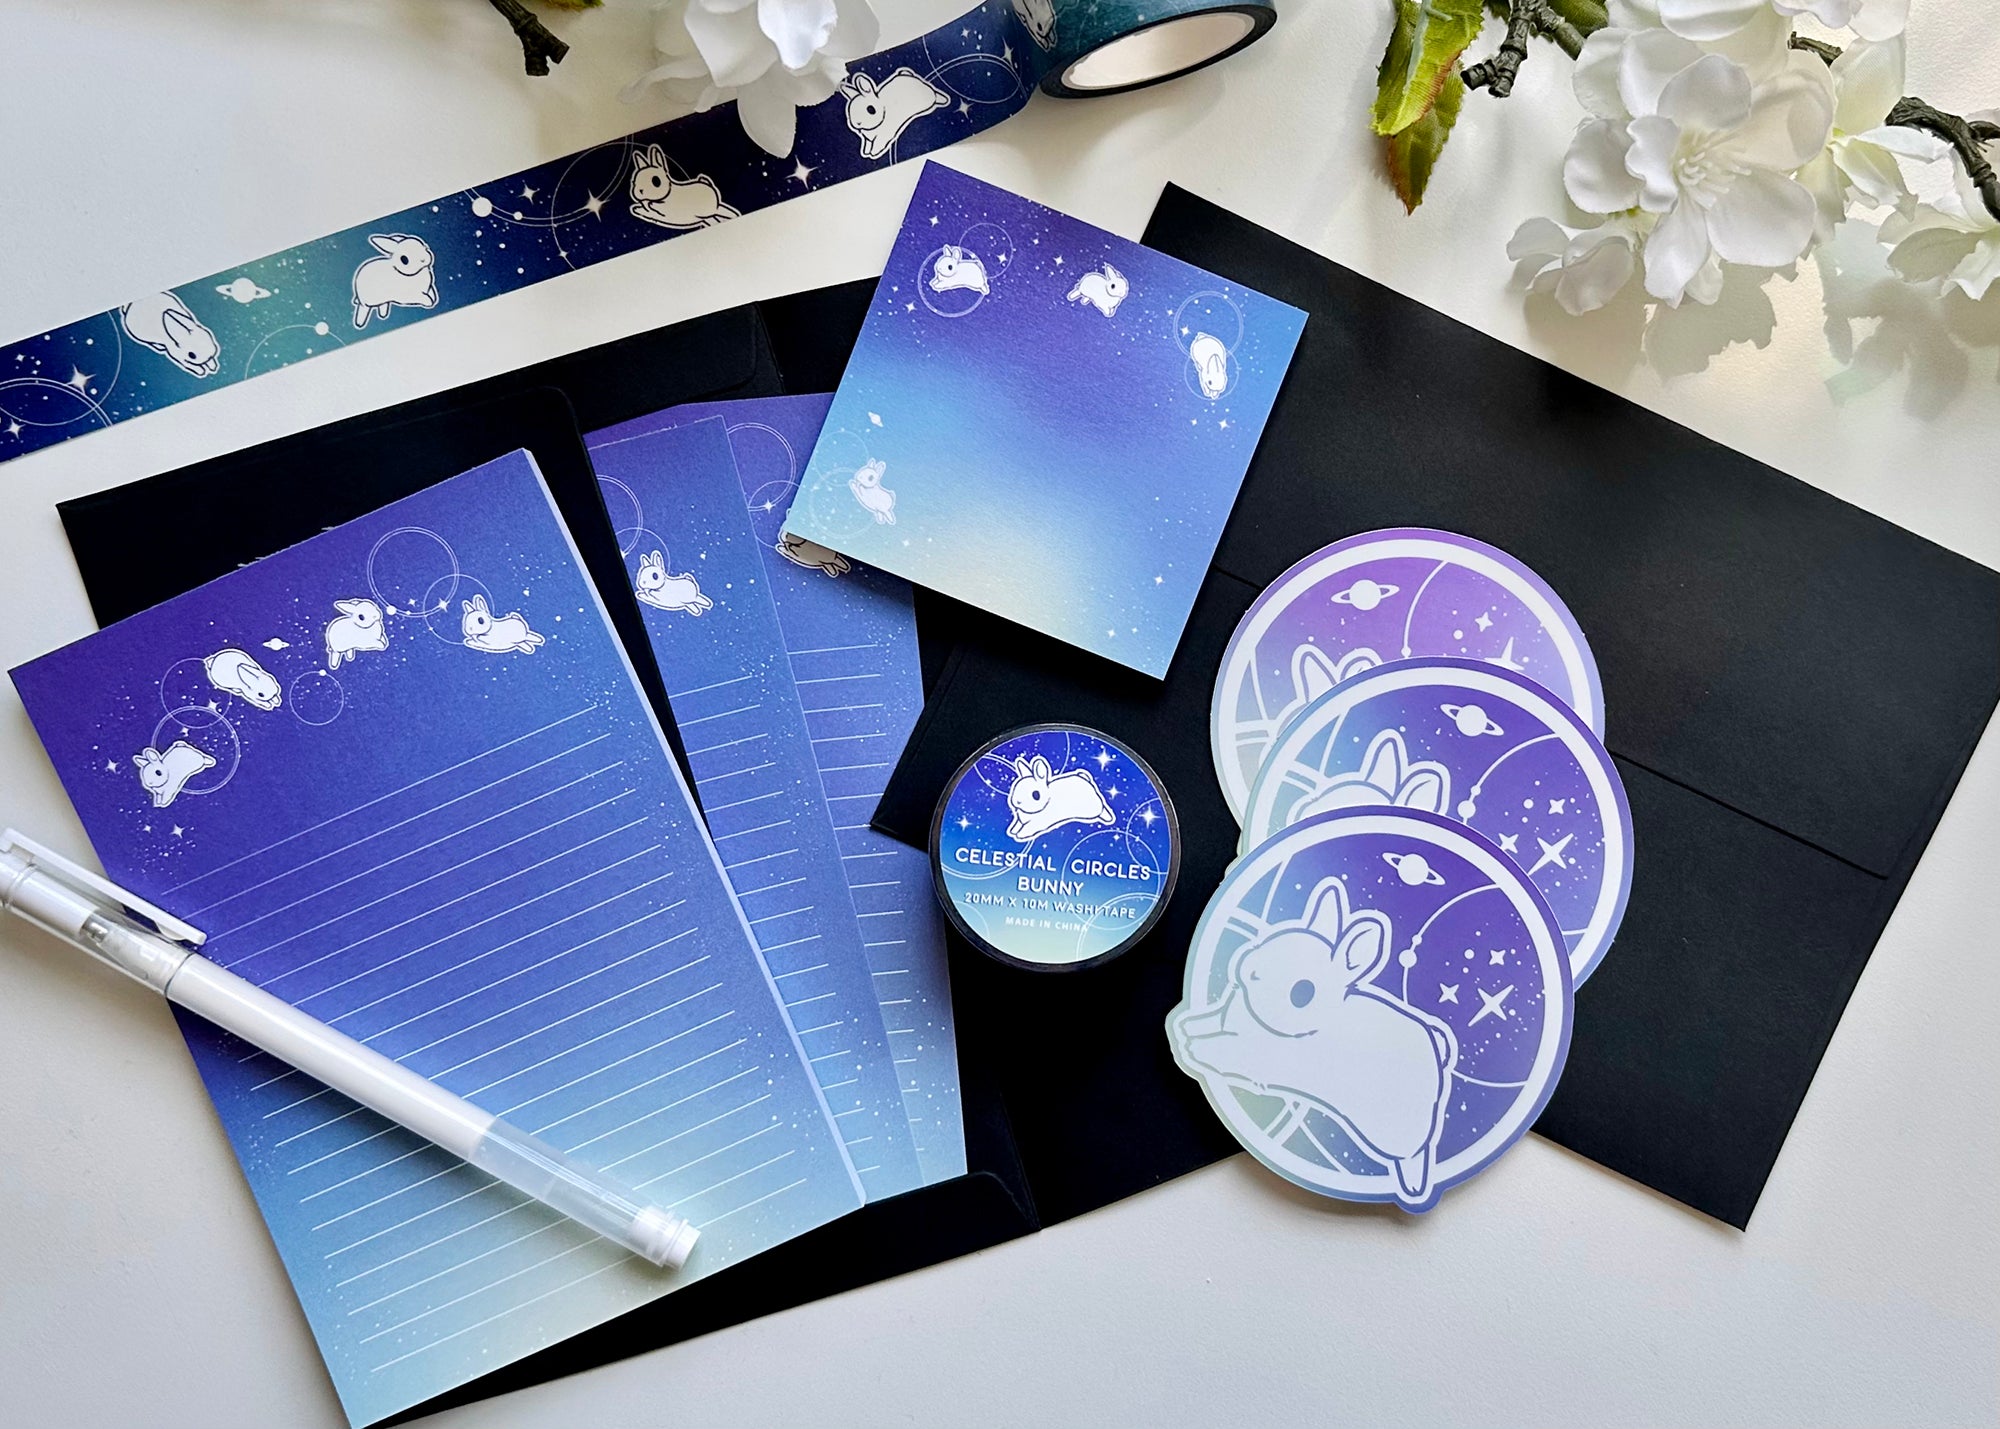
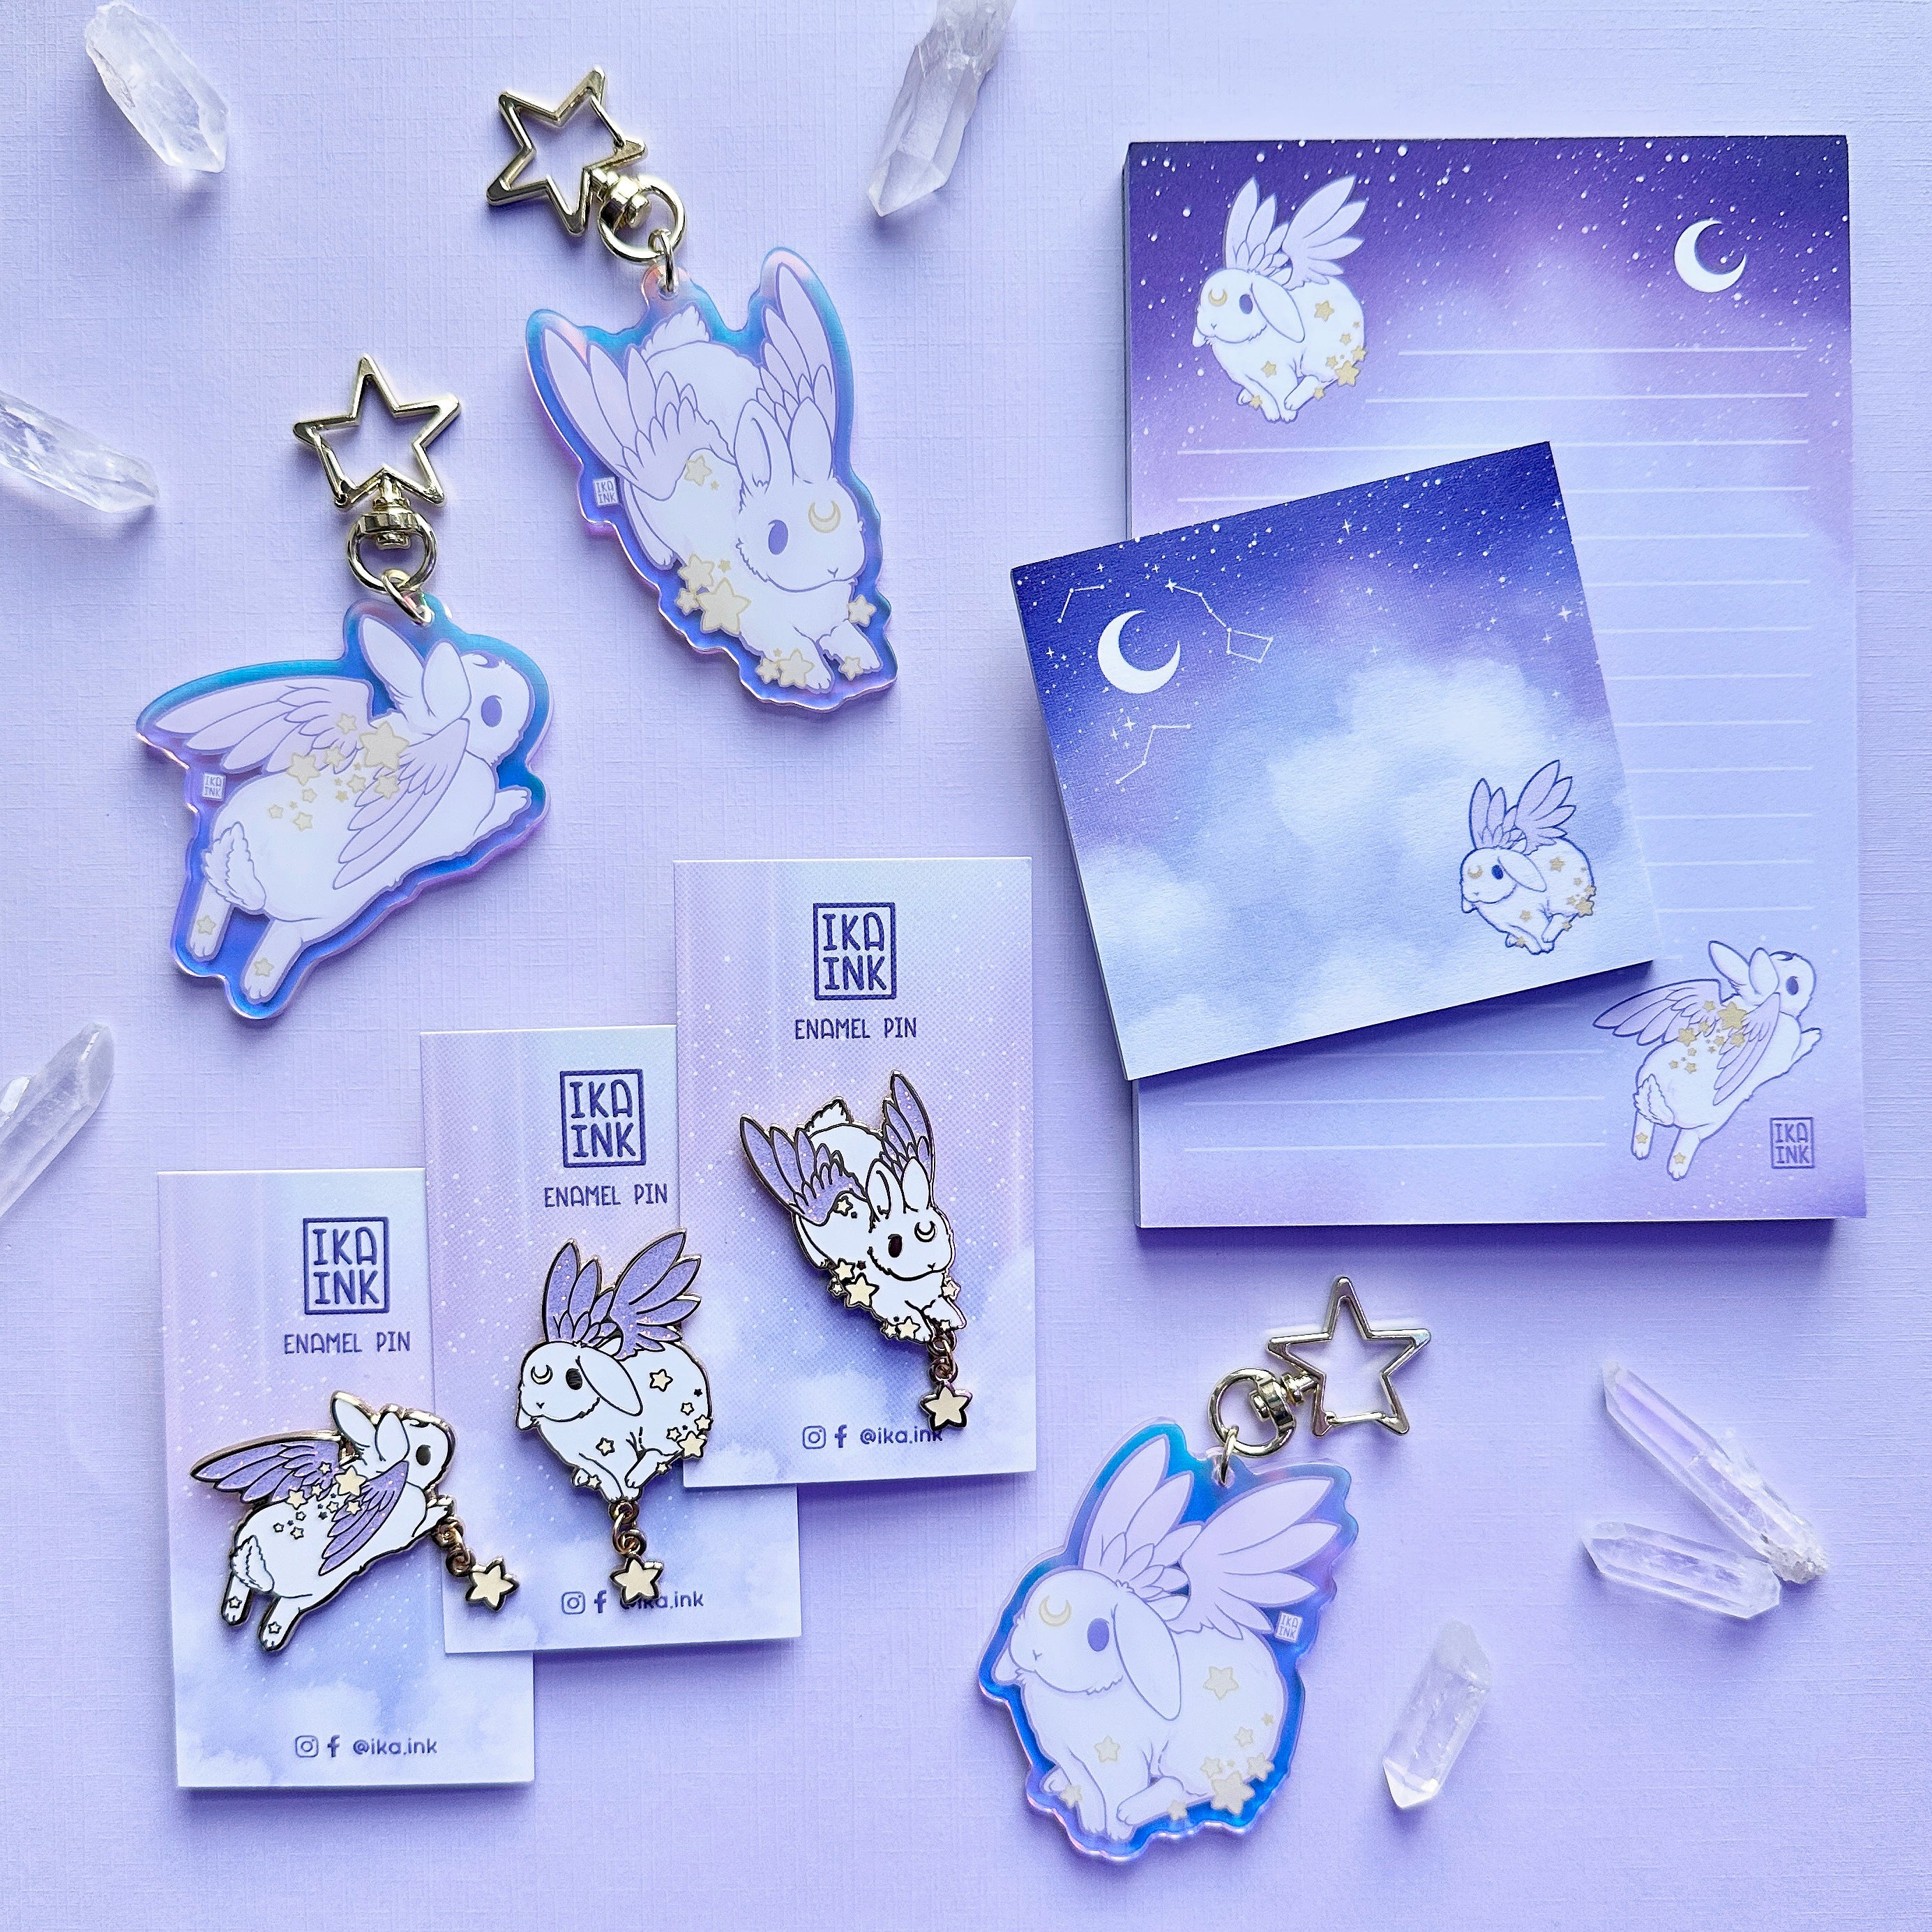
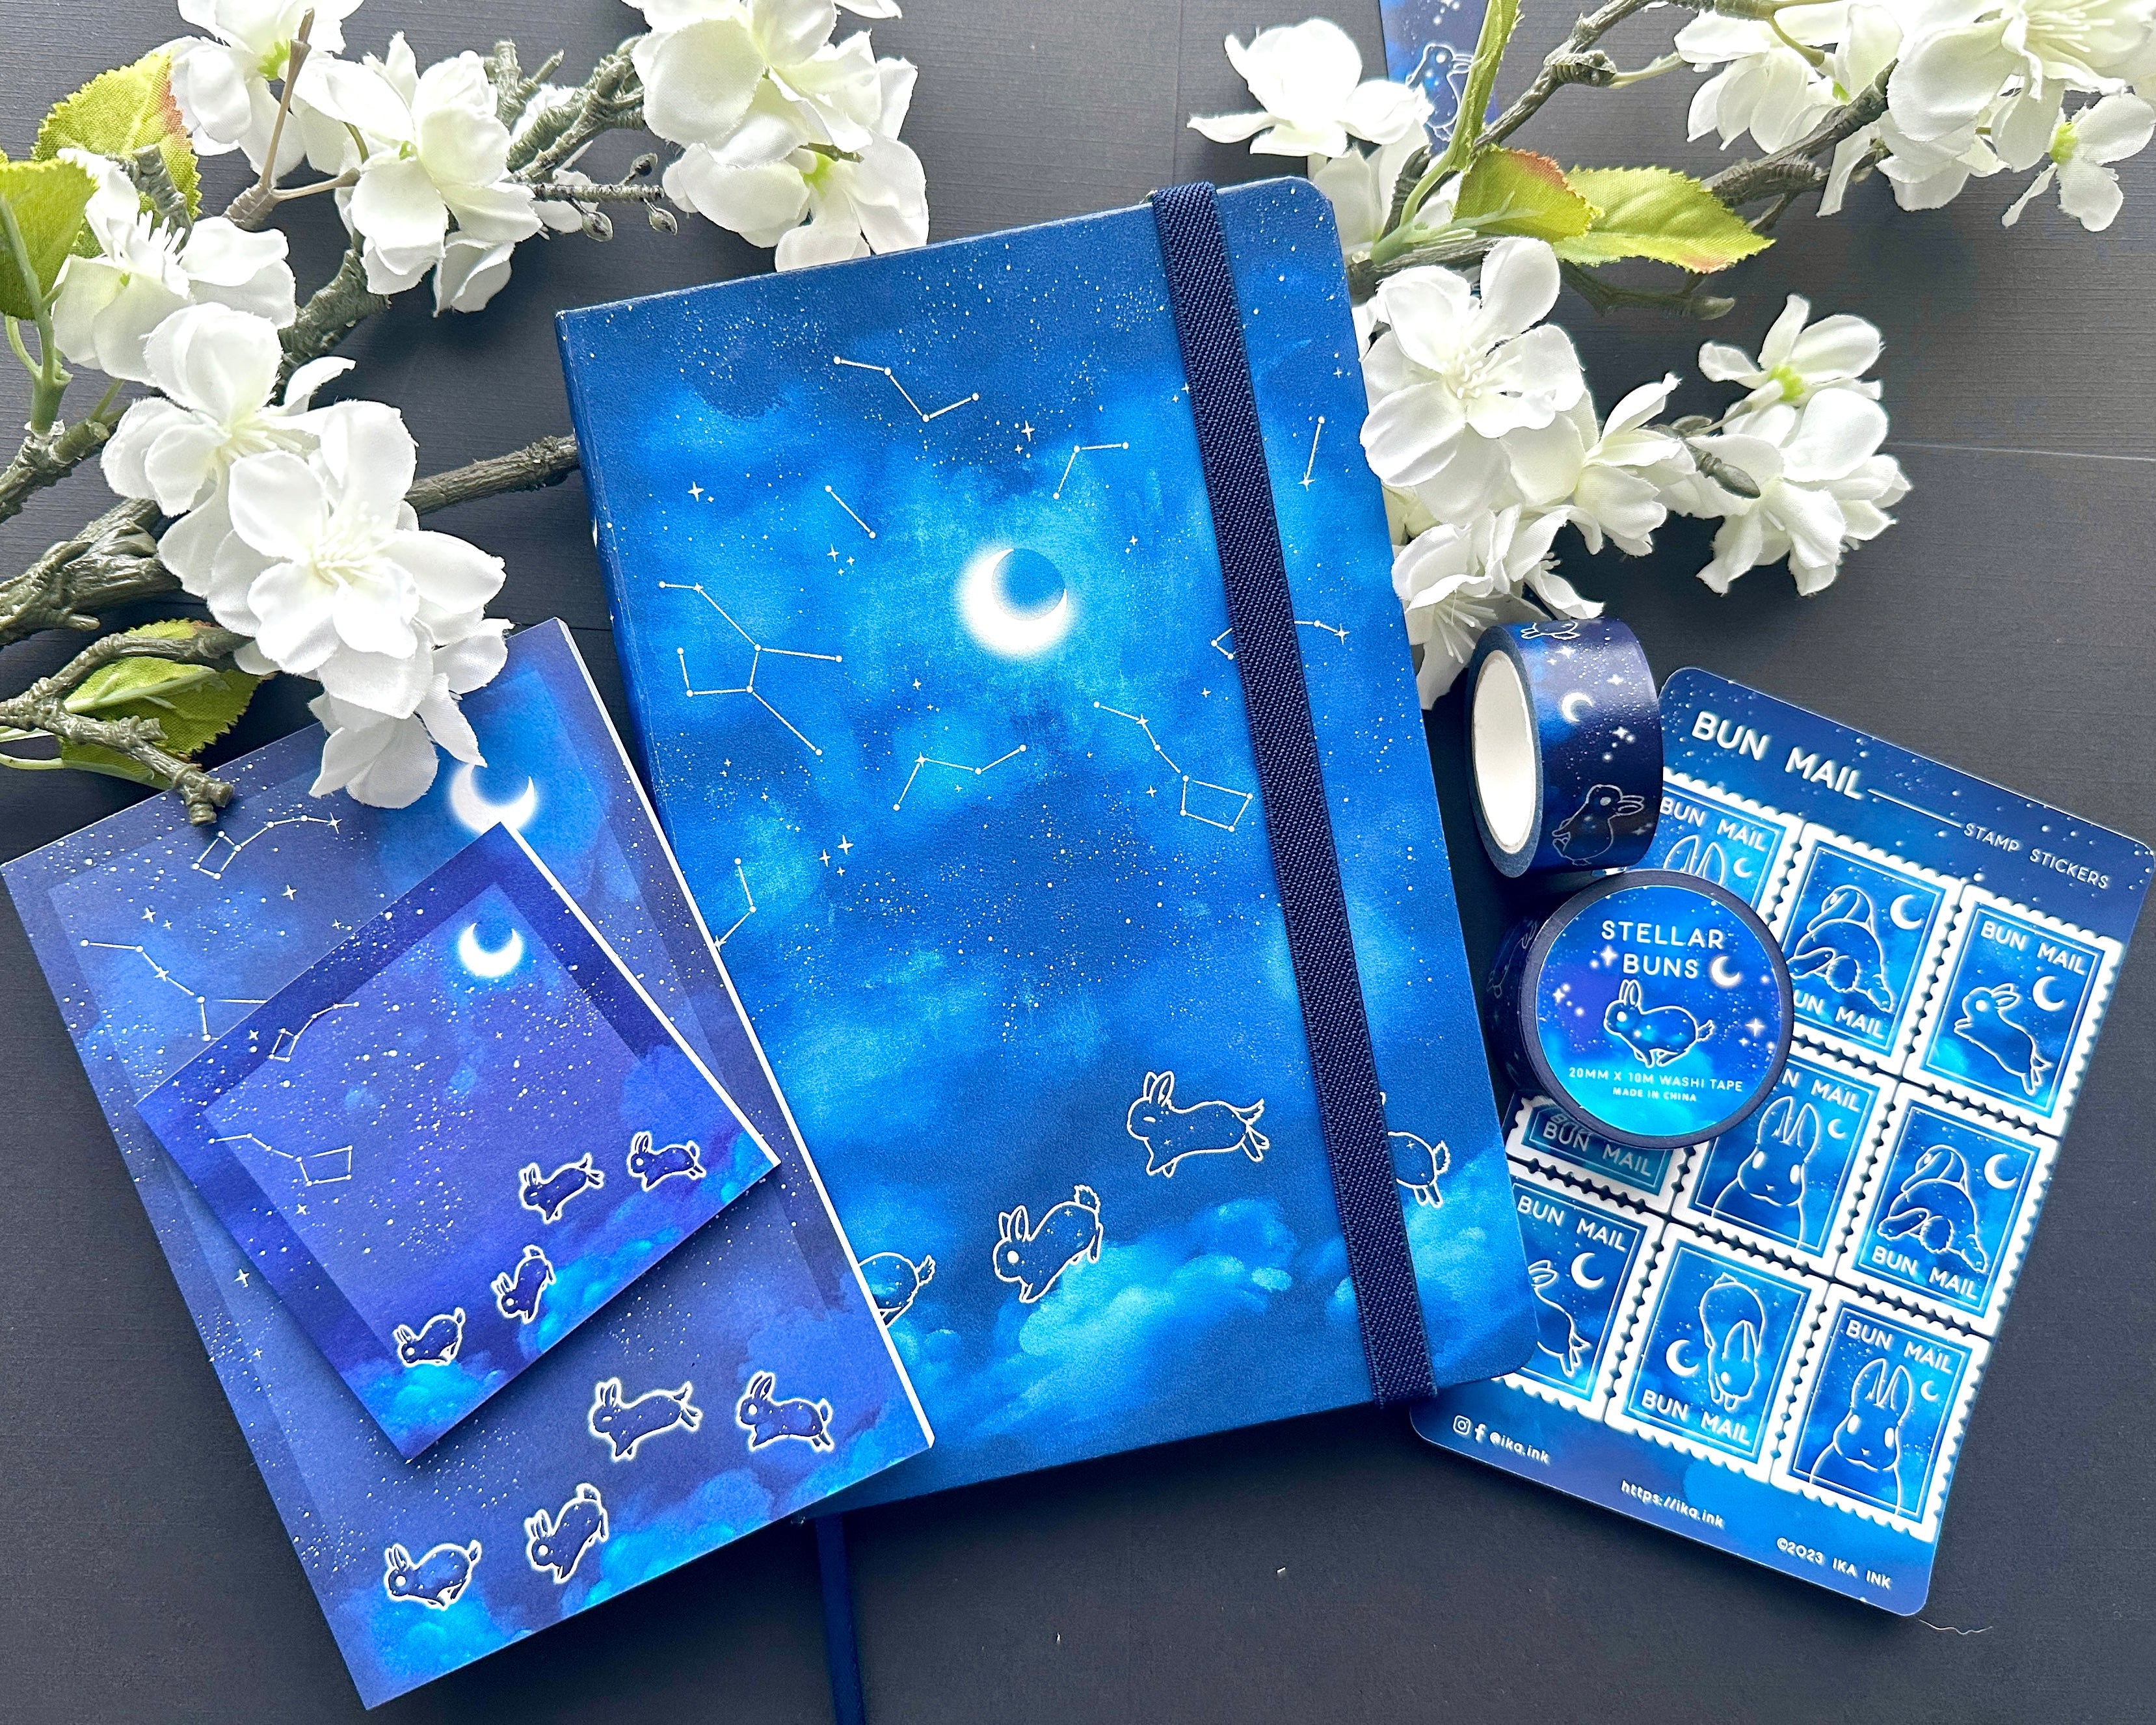
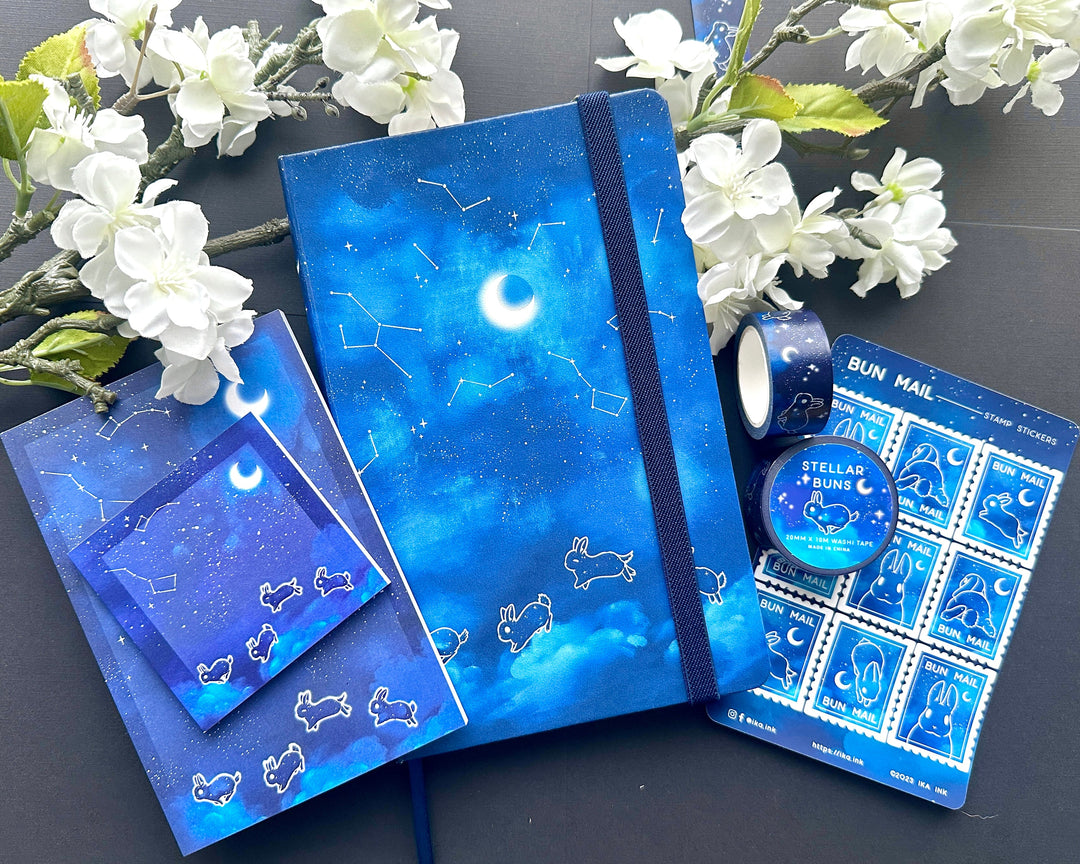
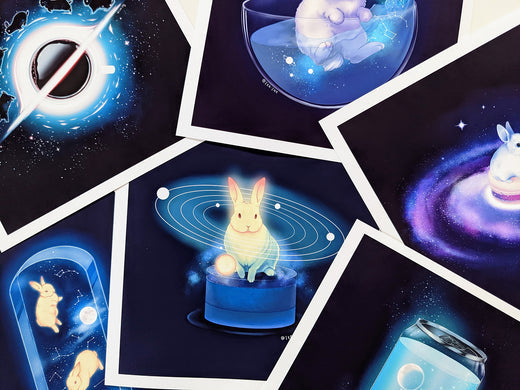
As someone who’s been sticker-obsessed and journaling-addicted for years, designing stationery was always one of those ‘dream projects’. When I first started selling my art, I kept it simple with stickers and prints—fun, manageable, and totally in my comfort zone. But as my little business grew, I finally had the chance (and the budget) to bring some bigger ideas to life. My very first batch of products made through a manufacturer included notepads, sticky notes, and washi tape. Seeing my ideas take shape was incredible, but let me tell you—it wasn’t without its challenges. In this post, I’ll share the inspiration behind my stationery, the hurdles I faced, and tips I’ve learned along the way for anyone thinking about jumping into stationery design. And for those who just like using it, enjoy an insightful look behind the scenes!
From Sticker Love to Stationery Dreams
My love for stationery goes way back. I’ve always been drawn to the charm of stickers, the satisfaction of ticking off items on a cute notepad, and the joy of sending handwritten letters. Ever since I was a kid let loose in a Sanrio store, I’d buy every adorable stationery item my budget could handle. These days, I have a couple of big plastic bins in my studio packed to the brim with stickers, letter sets, and cute little notebooks—way more than I’ll ever use. So when I started creating my own art, turning it into stationery felt like the perfect way to blend my love of functional creativity with my own designs.
Overcoming Challenges in Product Design
Every product starts as an idea. For me, as an artist, that idea usually begins with my artwork. I don’t typically create designs with a final product in mind; instead, I reimagine and repurpose my original art. One of the biggest challenges was figuring out how to translate my digital art into physical products. It’s not just about making something look pretty—it has to be functional too. Notepads need enough space for writing, sticky notes require just the right color saturation, and notebooks have to strike a balance between aesthetic appeal and usability.
To get a sense of how my designs would translate into real products, I printed “mock-ups” at home from simple computer paper. I even mocked up my washi tape by printing and cutting it into long paper strips to see how the continuous design flowed! Most manufacturers don’t offer small sample runs before committing to a full production order with a low MOQs (minimum order quantities). So I had to get creative and make my own samples to see how things looked in person.
Then came the technical hurdles. Designing templates with the right dimensions and bleed areas (to ensure seamless cropping during printing) is crucial. I've certainly messed up my measurements before, resulting in a tiny white border around my work! Ensuring that colors printed as vibrantly as I envisioned often requires compromise. Every printer and manufacturer is a little different, and most require CMYK color profiles (used exclusively for printing). But colors can print darker or less saturated than expected. Despite all the prep work, when it’s time to send off your files, there’s always a bit of blind faith involved—you just have to cross your fingers and hope for the best!
That’s why I always start with a very small order for anything new. If the results come back a bit off, it gives me a starting point for adjustments in the next batch. And if the worst happens, I can still label the small run as “Oops” or seconds / b-grade items to recoup some of the costs while using the whole situation as a learning experience.
Growing up your business and sales will eventually allow you some flexibility here though. I've found a couple of manufacturers that will provide me with a limited number of small print samples before full production if I place a larger minimum order. Vastly helpful in avoiding an "Oops" print situation!
Sourcing the Right Manufacturers
Finding and vetting manufacturers is probably my least favorite part of the process. It's a lot of research, trial, and error. It sounds simple enough, but it can be a time-consuming and sometimes costly journey. I usually start by searching on Google or platforms like Alibaba. From there, I create a list of manufacturers that look promising based on their reviews, quality guarantees, and years of experience. After reaching out to each one for details on their process and a quote, I narrow the options down to one or two I'd like to work with.
I've found that overseas manufacturers often offer the best pricing, but it's important to weigh in shipping and import costs. Sometimes, a local or domestic option can end up being more affordable overall, so I consider both options or even use different manufacturers for different products. For example, my washi tape is produced overseas, where it's reasonably priced, including shipping. However, for my notepads, I choose to work with a U.S.-based manufacturer. While they may cost more to produce compared to overseas options, the quality is higher, and domestic shipping for such a heavy item is much cheaper with no import fees—making it the obvious choice!
If you’ve ever looked for advice in this area or asked who people use, you’ll notice that most artists are reluctant to share exactly who they work with—and there’s a good reason for that. Finding a reliable manufacturer is a journey of discovery. Once you find the perfect manu, you want them to stay good! It’s an unfortunate reality that when a manufacturer gets publicly recommended by a well known artist, they can become overwhelmed with orders. This often leads to a dip in quality or a surge in pricing as they struggle to keep up with demand—leaving the original customers scrambling to find a new option.
Lessons from Trial and Error
Not everything works out the first time—and that’s okay. Early on, I discovered how crucial it is to expect my first run of something may not work out. I’ve had designs that looked perfect on-screen but didn’t translate well in print. Colors that seemed vibrant turned dull or dark, and layouts that appeared balanced felt cramped in real life. Each mistake taught me something valuable, and over time, I’ve become much more confident in designing for print.
Tips for Aspiring Stationery Designers
If you’re thinking about creating your own stationery, here are a few tips I’ve picked up:
-
Start with what you love. If you’re passionate about journaling, stickers, or letter writing, use that as your foundation. Your personal connection to the products will shine through in your designs!
-
Invest time in templates. Properly scaled and formatted templates are key to ensuring your designs print correctly. Double-check dimensions, color profiles and bleed areas to avoid headaches later.
-
Choose colors carefully. Colors can vary dramatically between screens and print. Always work in CMYK for print and always test small batches to make sure they come out as intended before going all-in.
-
Don’t rush the manufacturing process. Take your time to find manufacturers who align with your vision. Request samples when possible and don’t settle for less than what you’re happy with.
-
Embrace trial and error. Mistakes are part of the process. Each one brings you closer to creating the perfect product.
What’s Next?
Designing stationery has been such a rewarding journey, and I’m excited to keep growing this part of my business. I’ve got a few new ideas in the works—so stay tuned for even more fun, functional, and adorable items coming soon to the shop!
Whether you’re a stationery lover or an aspiring designer, I hope this behind-the-scenes look at my process inspires you. Check out my stationery collection here and let me know which piece is your favorite! Who knows—it might even spark some ideas of your own.
